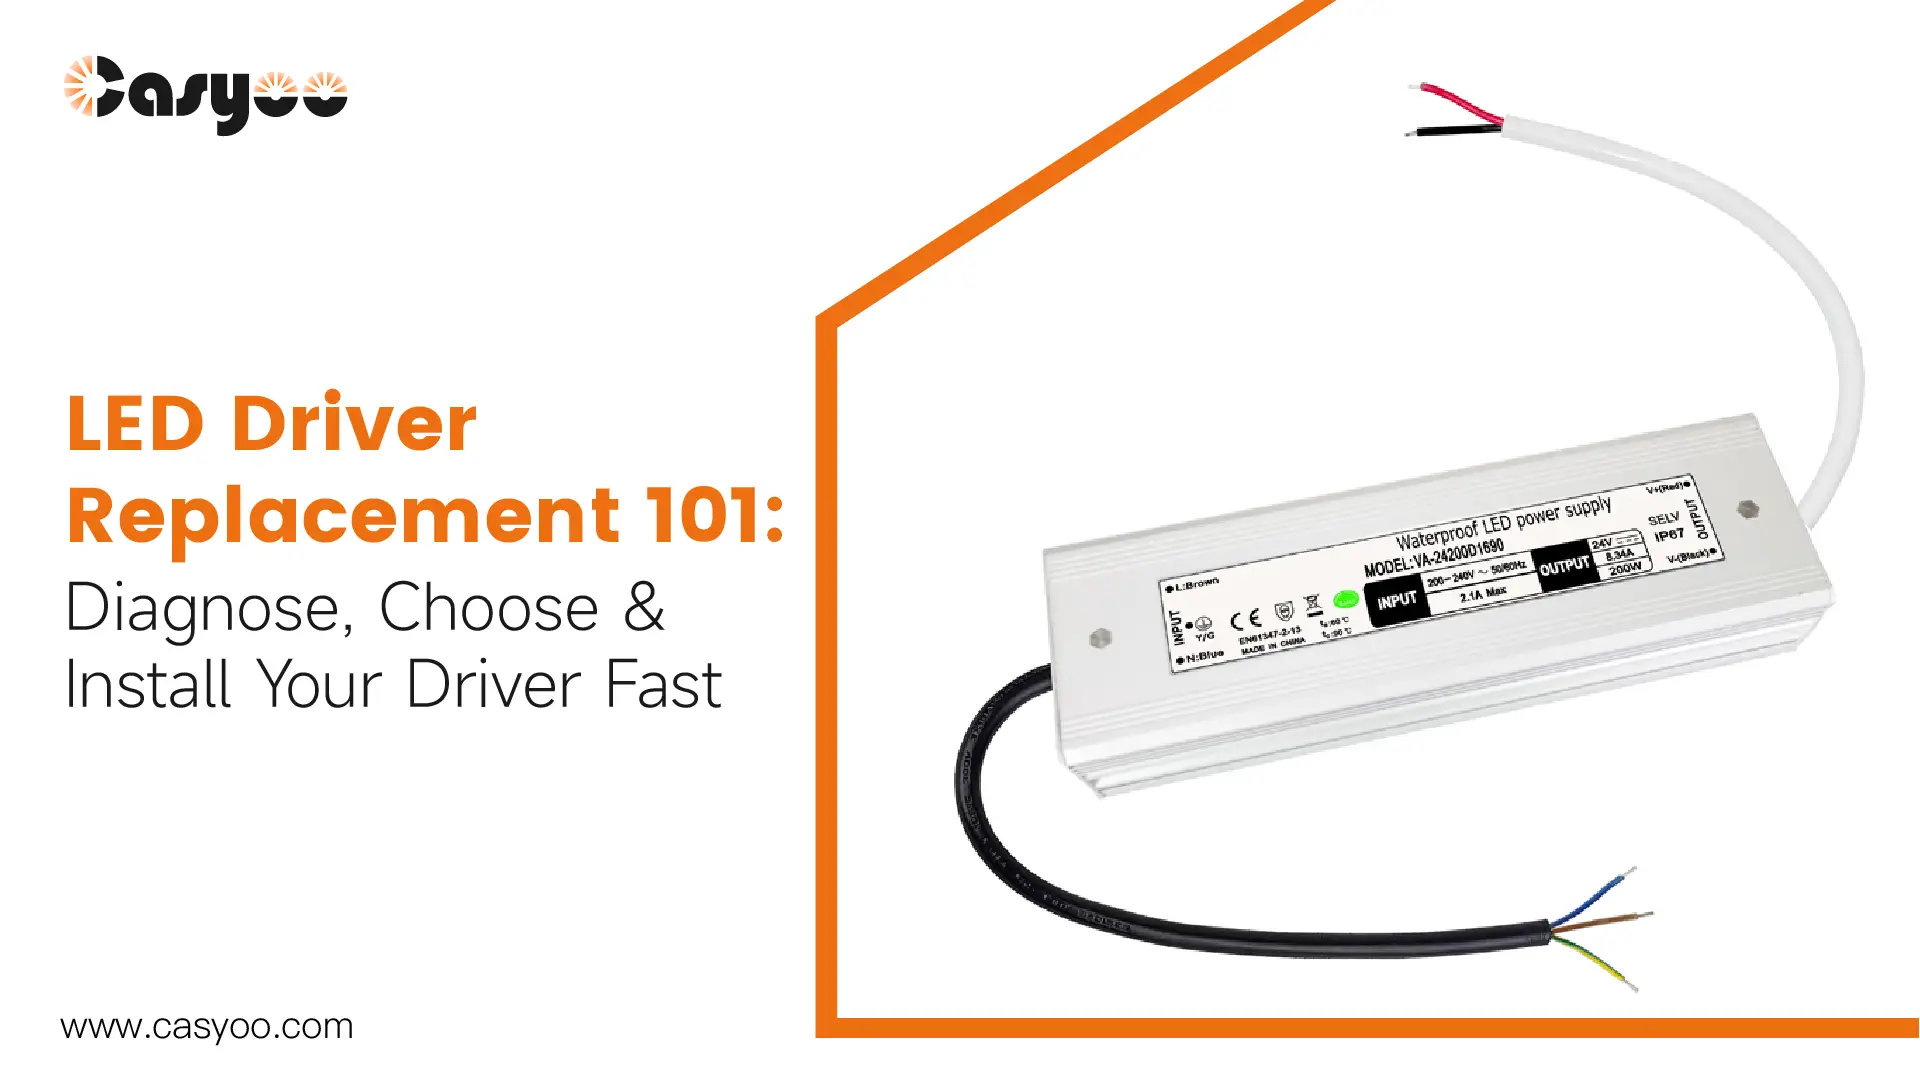
When your LED light unexpectedly goes dark or begins to flicker, the issue is not always with the LED itself, but rather is hidden in the driver. Whether you are a DIYer troubleshooting at home or a facilities manager overseeing dozens of light fixtures, knowing the reasons for driver failure and the considerations and options available will allow you to make more informed, safer choices. In this guide, we’ll take you through the LED driver troubleshooting, how to choose the correct replacement driver with confidence, and detailed led driver replacement guide.
LED Driver Replacement Checklist
- Power Off: Switch off the mains supply and confirm no voltage with a tester.
- Inspect Driver Label: Note input voltage, output voltage/current, and wattage.
- Check LED Symptoms: Identify flickering, dimming, or total failure.
- Multimeter test LED driver: Verify output voltage matches driver’s rating.
- Match Replacement: Choose a driver with the same V/mA, ≥20% wattage headroom, correct dimming type, and IP rating.
- Disconnect Wires: Carefully remove old driver connections.
- Install New Driver: Connect wires following polarity and secure with proper insulation.
- Power On & Test: Restore power and confirm LEDs work smoothly.
How to Check If LED Driver Is Bad?
A rule of thumb is that when multiple LEDs fail simultaneously, the driver should be the primary suspect. In this case, we need to conduct tests to determine whether LED driver replacement is necessary. A single LED failure could indicate a faulty LED. We typically test the driver by connecting it to a known working LED module, or vice versa.
Driver failure typically manifests in three typical ways:
- No output: If the LED light is completely off, first check whether the driver input voltage is normal (use a multimeter to measure the input voltage; it should generally fall within the specified AC/DC range). If the input is normal but there is no output current, the driver’s internal fuse may have blown or the switching device may have burned out.
- Intermittent flickering: Regular flickering may indicate unstable driver output current, often caused by aging electrolytic capacitors (decreased capacitance leading to filtering failure) or PWM control chip failure. Constant random flickering is an indication of bad connections in the wiring.
- Unusual heat or burning smell: If the driver housing temperature exceeds 60°C or emits a burning smell, it’s likely that the power components (such as MOSFETs or rectifier diodes) have broken down. To eliminate safety risk, shut down the power supply immediately.
LED Driver Replacement Decision: Repair or Replace?
Step 1: Assess the Repair Value of a Faulty Driver
The prices of driver components vary. Generally speaking, when the repair cost exceeds 40% of the new driver price, led light driver replacement is more cost-effective. The driver components can be divided into three groups:
- Consumable part repairs: Such as replacing electrolytic capacitors or rectifier diodes, these repairs are the most cost-effective, especially if you have basic soldering skills.
- Chip-level repairs: Replacing the driver IC or PWM controller requires specialized expertise and is recommended only if the original driver price is high.
- PCB-level repairs: If the circuit board copper foil is peeling or multiple burns occur, repair costs are very high and generally uneconomical.
Step 2: Determine Technical Feasibility
If repairing a driver is necessary, consider tools, time, and testing equipment. If you need to purchase specialized equipment (such as an oscilloscope) or spend more than two hours diagnosing, direct replacement is usually more efficient. It must be noted that modern intelligent drivers use surface mount technology (SMT), which makes manual repair less efficient.
Step 3: Comprehensive System Status Assessment
The lamp should be replaced completely in case it has surpassed the 80 to 100 percent of its indicated lighting period (usually 50,000 hours on LED lamps) or when its degradation in lumen output by 20 percent.
How Do I Choose A Replacement LED Driver?
When selecting an LED lamp driver, ensure that the parameters shown in the figure below match the LED lamp. The specifications of the old driver can be used as a reference.
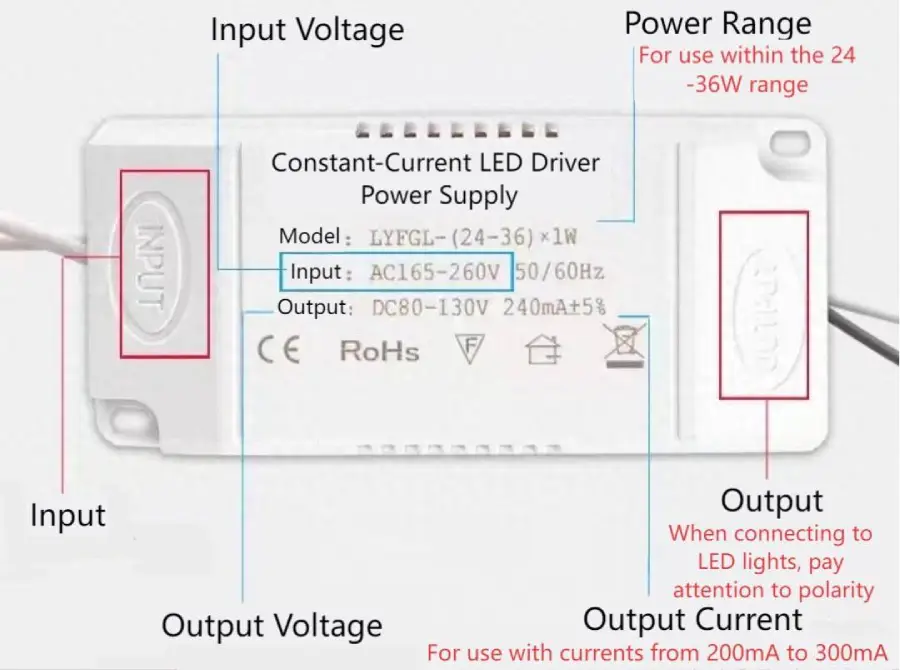
Especially note the following:
- Current Matching: A±5% tolerance is a safe range.
- Voltage Compatibility: The new driver’s output voltage range has to cover the present LED string voltage.
- Dimming Protocol: PWM and 0-10V protocols must be fully compatible.
Constant Current vs. Constant Voltage LED Driver
There are two types of LED lamp drivers: constant voltage and constant current. Constant current drivers (CCDs) are the preferred choice for most professional lighting applications. They ensure the LEDs are always operated at the optimum current, avoiding voltage fluctuations that cause unstable brightness or premature lumen loss. Constant voltage drivers (CVDs) are in turn better when used with parallel LED arrays or where there is need of flexible expansion.
LED Driver Replacement Step-by-Step Guide
Safety Preparation
Before proceeding, disconnect the power supply and wait at least 5 minutes for the high-voltage capacitors to discharge. This waiting time is especially important for drivers with PFC circuits. Use an insulated toolkit and an anti-static wrist strap because static discharge will damage sensitive MOSFETs. Special tools such as a digital multimeter, a heat gun (preheated to 300-350°C), and a magnifying glass are recommended to be on hand, especially for surface-mount component (SMD) repairs.
Drive Disassembly Tips
Take caution when unscrewing the outer casing; there may be concealed latches and forced pushing may break the PCB. Alcohol clean the connector contacts to eliminate oxide deposits. It’s recommended to use a mobile phone to take photos from multiple angles to record the location of each connection.
Component-Level Repair Tips
When you find a blown electrolytic capacitor, also inspect the nearby rectifier diodes. Voltage spikes tend to cause cascading damage to several components. When substituting IC chips, keep the soldering iron temperature at 260-280°C. Adopt the “solder first, then remove” approach to avoid solder pads falling off. For burnt-out MOSFETs, don’t forget to apply thermal grease when installing a new one.
Connecting the New Driver
Once you are confident that the driver specifications are compatible with the LED light, plug the driver in series with the circuit and make sure not to reverse the polarity. You can refer to the way the previous driver connecting in the circuit.
System Burn-in Test
How to test a led driver? Perform a burn-in test for at least 72 hours after repair. For the first 8 hours, try to record temperature data every 15 minutes. In case of smart drivers, check the smoothness of dimming. The PWM frequency fluctuation should not exceed ±5% of the nominal value.
LED Driver Replacement Safety Tips & Troubleshooting
The above describes the process of LED lamp troubleshooting and repair. Now let’s summarize the precautions during the repair process.
- Locate the positive and negative terminals of the LED light source and connect them to the positive and negative terminals of the driver. Connecting them incorrectly will prevent the light from illuminating properly.
- If the LED light source does not illuminate after powering on, do not connect the driver output to mains power, as this will burn out the driver.
- If in doubt, inspect all the LEDs for individual damage. A single LED that has burnt out can make the whole lamp not to work in case of a series circuit.
- Because light source parameters, features, and styles vary among different lighting manufacturers, ensure that the driver is compatible with your fixture when purchasing. If the fault is not matched, the following phenomena will occur:
- The lamp bead flickers frequently (cause: the lamp bead parameters do not match. When purchasing, you should check the driver parameters and the power of the lamp bead).
- The lamp bead does not light up (cause: the lamp power is wrong or the positive and negative poles of the output wiring are wrong).
- The lamp bead is slightly bright (cause: the lamp product is burned out and short-circuited or the driver power does not match the LED power. If such phenomena occur, first find out whether there is a problem with the LED light source, and then check whether the driver matches the light source.
- If the fault condition cannot be determined, it is recommended to contact the driver manufacturer.
- All wiring operations must be performed with the power off, and after proper insulation treatment, power on and test.
Frequently Asked Questions
How Do I Test If my LED Driver Is Not Working?
To test whether the LED driver power supply is normal, you can use a multimeter to measure whether the output voltage is stable (error no more than ±10%). At the same time, pay attention to whether the light flickers or has abnormal brightness. It is recommended to turn off the power and take proper insulation protection.
Can I Replace An LED Driver Myself?
Yes, but you need to have basic circuit knowledge to replace LED driver safely. Please be sure to wear insulating gloves before replacement, disconnect the power supply, and pay attention to matching the output voltage and current parameters.
What Is the Lifespan of An LED Driver?
The theoretical lifespan of a high-quality driver power supply is about 50,000-100,000 hours. However, in actual use, electrolytic capacitors often age after 2-3 years.
Can I Use A Higher Wattage Driver for LEDs?
Not recommended. While they can be used temporarily when voltages are matched, long-term overdriving will accelerate the LED chip’s light degradation, causing color temperature shift and reduced color rendering.
Conclusion
The process of replacing an LED driver involves diagnosing the problem, determining if replacement is worthwhile, replacing it, and testing it. To avoid these complex steps, it’s best to start by choosing a reliable LED lighting manufacturer like Casyoo. Our LED lights and LED drivers are made from high-quality components and are custom-made to your specifications. We also provide after-sales service, so you can consult us anytime if you have any questions about driver replacement. Contact us for reliable LED lights and drivers!